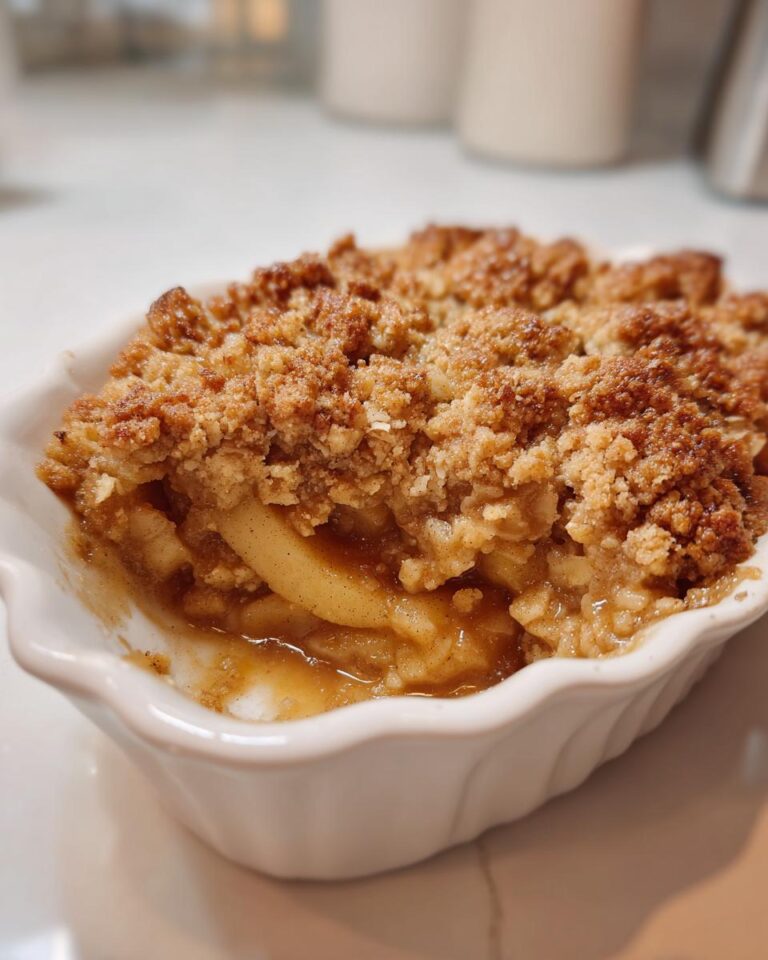
Oh, apple crisp! Just saying the words makes me feel all warm and fuzzy inside. There’s something magical about that bubbling, spiced apple filling topped with a perfectly crunchy, buttery crumble. This isn’t just any apple crisp, though. This is the one I’ve tweaked and perfected over years of experimenting in my own kitchen, trying to capture that perfect balance of sweet, tart, and cinnamon-spiced goodness. It’s the kind of dessert that fills your home with the most incredible aroma and just screams “comfort food” – especially when the weather starts to turn chilly. Trust me, once you try this easy apple crisp recipe, it’ll become your go-to fall favorite!
Why You’ll Love This Easy Apple Crisp Recipe
Seriously, what’s not to adore about this apple crisp? It’s the kind of dessert that makes everyone happy, from the pickiest eaters to the most discerning foodies. We’re talking tender, juicy apples baked under a golden, crunchy topping that just melts in your mouth. It hits all the right notes – sweet, a little tart, perfectly spiced, and oh-so-comforting. Plus, it’s incredibly forgiving, which is a huge win in my book!
Quick and Simple Preparation
One of the best things about this recipe is how darn easy it is! You don’t need any fancy techniques or a ton of time. Seriously, you can whip this up from start to finish in just over an hour, making it perfect for a weeknight treat.
Perfectly Balanced Flavors
The magic really happens with the flavor combo. Sweet, tender apples mingle with warm cinnamon and spices, all topped with that irresistible buttery, crisp topping. It’s pure comfort in a dish, and the smell while it’s baking? Heavenly!
Ideal for Any Occasion
Whether it’s a casual Tuesday night craving or a showstopper for your Thanksgiving dessert spread, this apple crisp fits right in. It’s a fantastic fall apple dessert that always impresses, and it pairs beautifully with a scoop of vanilla ice cream.
Gather Your Ingredients for Apple Crisp
Alright, let’s get down to business! To make this amazing apple crisp, we need a few simple things. The beauty of this recipe is that it uses pretty standard pantry staples, but the magic happens when you use good quality, fresh ingredients. We’re talking about crisp apples that will hold their shape and a topping that’s perfectly crumbly and golden brown. Don’t worry about memorizing amounts just yet; all the exact measurements are coming up next, but let’s get a general idea of what we’ll need for this classic apple crisp.
For the Perfect Apple Crisp Topping
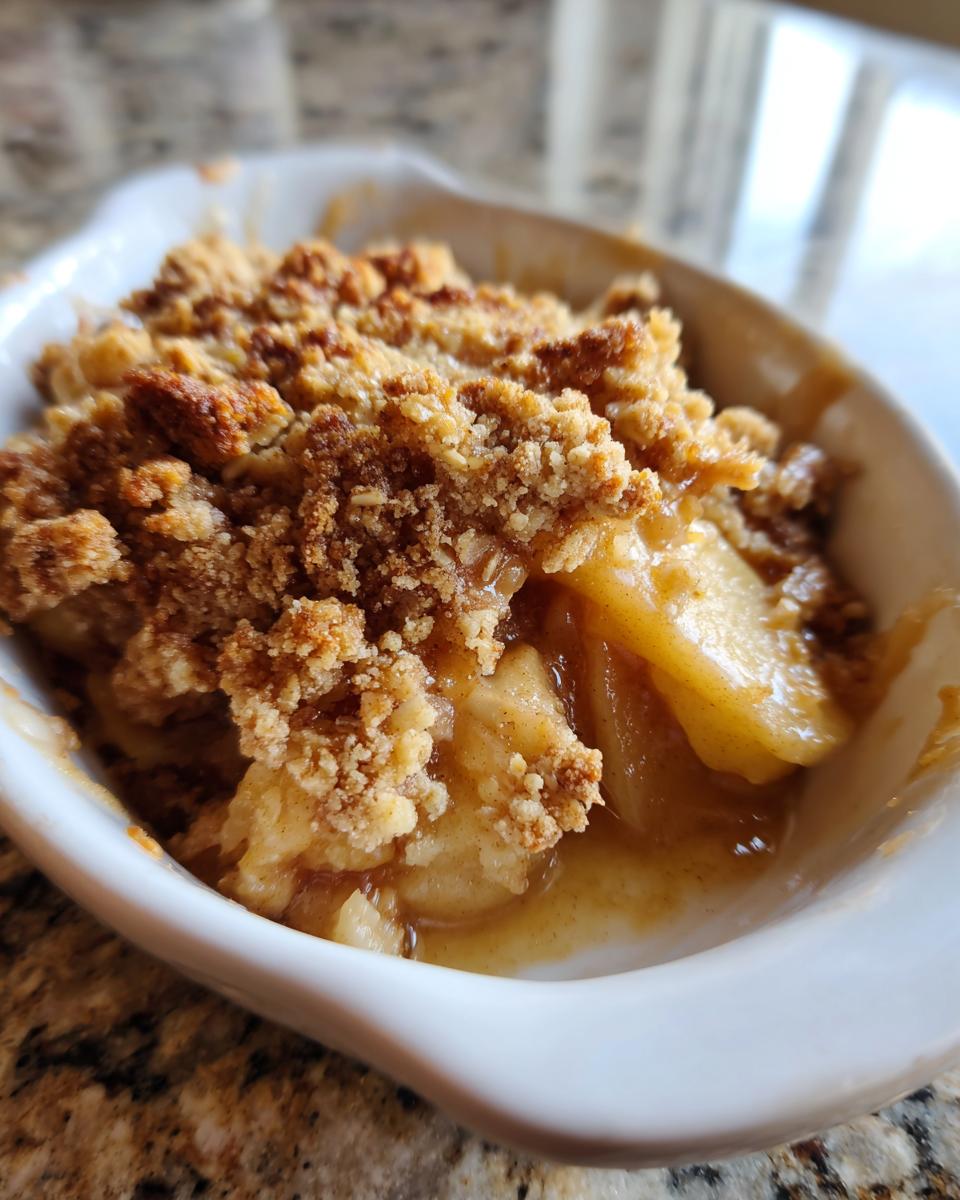
This is where the real crisp magic happens! We’ll need about 1 cup of all-purpose flour that’s been sifted, just to make sure it’s nice and light. Then, we’ll grab about 1/2 cup of packed light brown sugar for that lovely caramel note. And the star of the topping? About 1/2 cup of cold, unsalted butter, cut into little cubes. Keeping it cold is super important for that perfect texture!
For the Delicious Baked Apple Filling
For the filling, we want about 6 medium-sized baking apples. Make sure they’re peeled, cored, and sliced about 1/4-inch thick – you want them tender but not mushy. We’ll also add about 1/4 cup of granulated sugar to balance the tartness and 1 teaspoon of ground cinnamon for that warm, cozy flavor that just screams apple dessert.
Step-by-Step Instructions for Homemade Apple Crisp
Alright, let’s get this delicious homemade apple crisp into the oven! It’s really not complicated at all, and I’ll walk you through every step. The smell that fills your kitchen while this bakes is just unreal, and totally worth the little bit of effort. We’re going to make a base of tender, spiced apples and then top it all off with that irresistible crunchy crumble. Trust me, following these steps will lead you to apple crisp perfection!
Preparing the Apple Crisp Crust
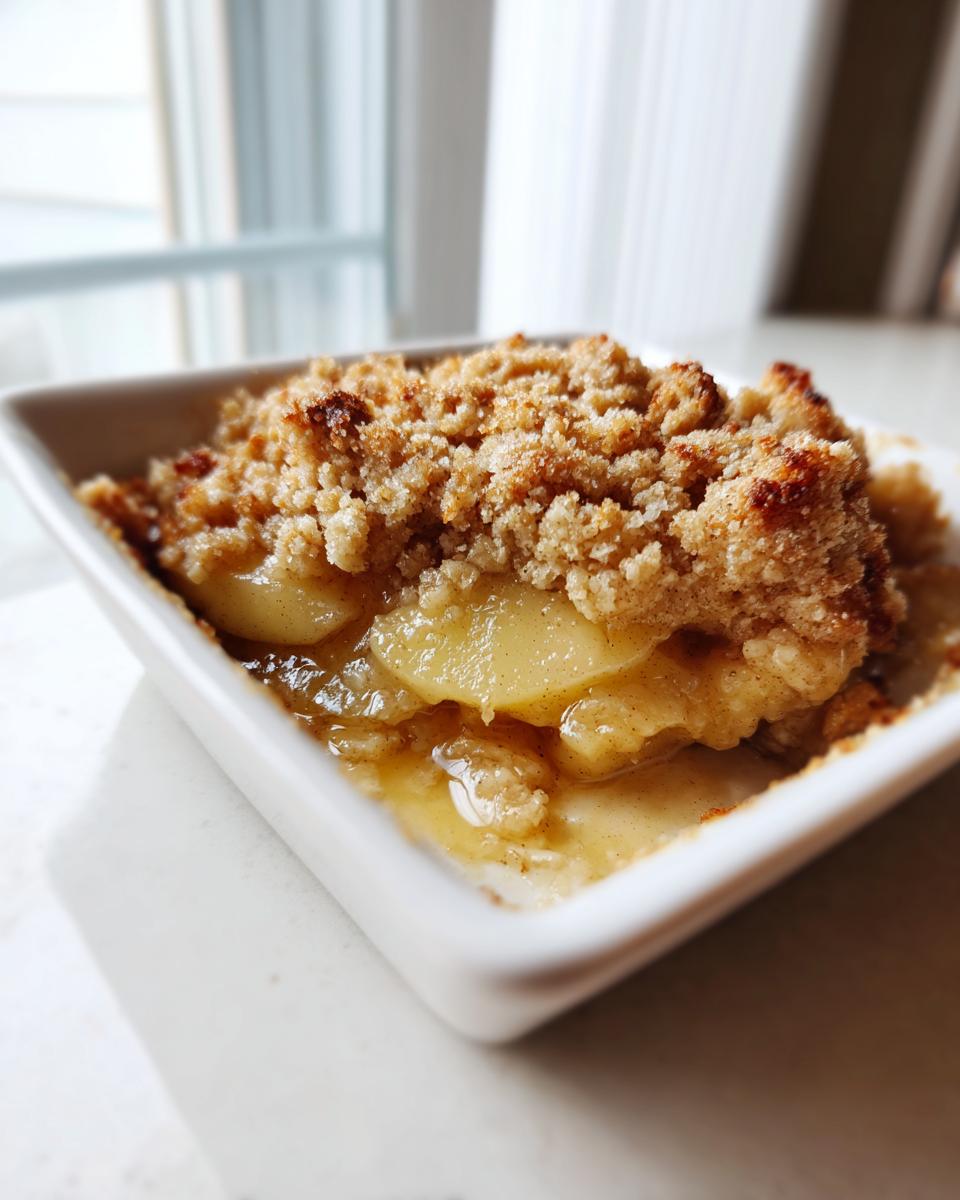
First things first, let’s get that crust ready. In a medium bowl, toss your prepared apple slices with the granulated sugar and cinnamon. Give it a good stir so every slice is coated. Now, pour these spiced apples right into your greased baking dish. Spread them out evenly – you want a nice, flat layer for the topping to nestle into.
Assembling the Apple Crisp
Now for that glorious topping! In a separate bowl, combine the flour and brown sugar. Add in your cold butter cubes. What I love to do is use my fingertips or a pastry blender to cut the butter into the dry ingredients. You want it to look like coarse crumbs, with some pea-sized pieces of butter still visible. This is what gives you that fantastic, crunchy texture. Sprinkle this crumbly mixture evenly all over the apples, making sure to cover every bit.
Baking Your Delicious Apple Crisp
Okay, time for the oven! Preheat it to 375°F (190°C). Pop that beautiful apple crisp in and let it bake for about 35 to 45 minutes. You’ll know it’s ready when the topping is a gorgeous golden brown and you can see the apple filling bubbling around the edges. It smells divine at this point! Once it’s out of the oven, let it sit for at least 10-15 minutes. This is crucial – it lets the filling thicken up and makes it easier to serve without everything falling apart. Patience is key here!
Tips for the Ultimate Apple Crisp
Making a truly spectacular apple crisp is all about a few little secrets. I’ve learned a few tricks over the years that really make a difference, turning a good apple crisp into an absolutely unforgettable one. It’s these little touches that elevate a simple dessert into something truly special, making sure every bite is just perfect. Let’s dive into how you can get that ultimate crisp!
Choosing the Right Apples
The type of apple you use is HUGE! For the best apple crisp, you want apples that are firm and tart-ish, so they hold their shape when baked and don’t turn to mush. My favorites are a mix of Granny Smith for that lovely tartness and Honeycrisp or Fuji for a bit of sweetness. They bake up beautifully and give you that perfect texture.
Achieving the Perfect Crisp Texture
Nobody wants a soggy topping! The trick is to use COLD butter and not overmix the topping. You want little chunks of butter throughout the mixture – that’s what creates that wonderfully crisp, crumbly texture when it bakes. Also, make sure your apples aren’t too wet before you add the topping.
Serving Your Warm Apple Dessert
This warm apple dessert is absolutely divine served fresh from the oven. A scoop of vanilla bean ice cream melting into the warm apples and crisp topping is pure bliss. Or, try a dollop of freshly whipped cream, maybe with a tiny pinch of cinnamon mixed in. It’s the perfect ending to any meal, especially during those cozy fall evenings.
Frequently Asked Questions About Apple Crisp
Got questions about making the best apple crisp? I’ve got you covered! It’s a pretty straightforward apple dessert recipe, but a few things can trip people up, so let’s clear them up.
Q1. What kind of apples are best for an apple crisp?
I really love using a mix of tart and sweet apples, like Granny Smith for that zing and Honeycrisp or Fuji for sweetness. They hold their shape well and give you a fantastic flavor. Avoid apples that get too mushy, like Red Delicious.
Q2. My crisp topping turned out soggy. What did I do wrong?
This is a common one! The biggest culprits are usually using softened butter instead of cold, or overmixing the topping. You want little chunks of butter in there – that’s what makes it crisp. Also, make sure your apple filling isn’t too watery before you add the topping.
Q3. Can I make this apple crisp ahead of time?
You can totally prepare the apple filling and the topping separately a day in advance. Store them covered in the fridge. When you’re ready to bake, assemble and bake as usual – you might need to add a few extra minutes to the baking time since the filling will be cold.
Q4. How do I store leftover apple crisp?
Just cover it well with plastic wrap or foil, or pop it into an airtight container. It’s best enjoyed within 2-3 days at room temperature, but it’ll keep for up to a week in the fridge. Reheat slices gently in the oven or microwave.
Storing and Reheating Your Apple Crisp
So, you’ve managed to have leftovers of this amazing apple crisp? Lucky you! To keep it tasting its best, let it cool completely before you even think about storing it. Once it’s totally cool, cover the baking dish tightly with plastic wrap or foil, or transfer any extra portions into an airtight container. It’ll stay lovely at room temperature for a couple of days, but if you want it to last longer, pop it in the fridge for up to a week. Reheating is super easy – a gentle warm-up in a low oven (around 300°F or 150°C) for about 10-15 minutes works wonders to bring back that crisp topping and warm, gooey apple filling.
Estimated Nutritional Information
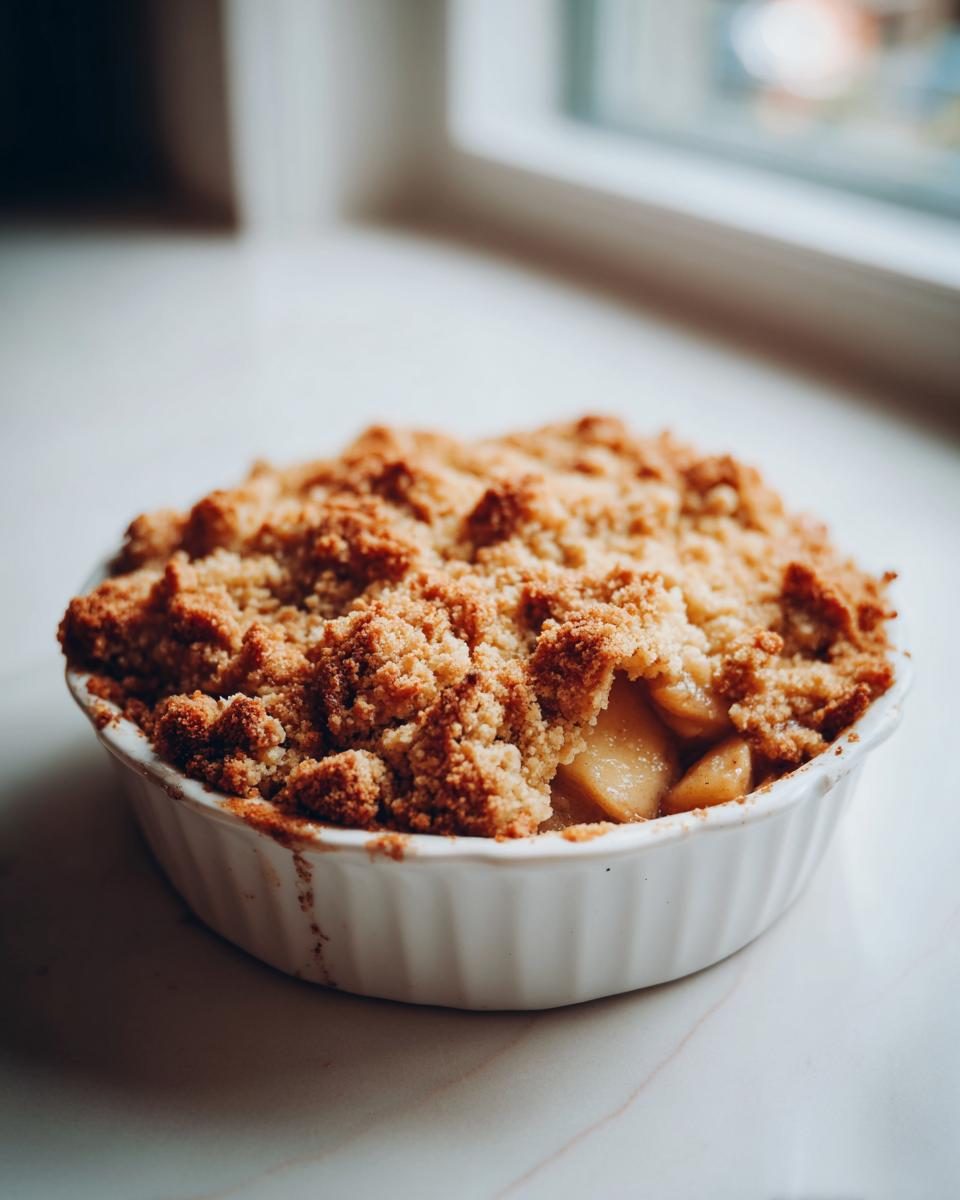
Just a little heads-up: the nutritional information for this apple crisp is an estimate, you know? It can really change depending on the exact brands of ingredients you use and even the size of your apples. So, think of these numbers as a general guideline rather than a hard-and-fast rule. It’s all part of the fun of homemade baking! For more delicious recipes and inspiration, check out our Pinterest page.
Print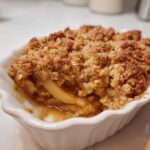
Perfect Apple Crisp: Comfort in 1 Hour
- Total Time: 1 hour 5 minutes
- Yield: 24 bars 1x
- Diet: Vegetarian
Description
These pumpkin pie bars offer a delightful twist on a classic Thanksgiving dessert. They feature a buttery shortbread crust topped with a rich, spiced pumpkin filling. Perfect for holiday gatherings, these bars are easier to serve than a traditional pie.
Ingredients
- For the Crust:
- 1 cup (2 sticks) unsalted butter, softened
- 1/2 cup granulated sugar
- 1 teaspoon vanilla extract
- 2 1/2 cups all-purpose flour
- 1/4 teaspoon salt
- For the Filling:
- 2 cups pumpkin puree (not pumpkin pie filling)
- 3/4 cup granulated sugar
- 2 large eggs
- 1/2 cup evaporated milk
- 1 teaspoon ground cinnamon
- 1/2 teaspoon ground ginger
- 1/4 teaspoon ground nutmeg
- 1/8 teaspoon ground cloves
- 1/4 teaspoon salt
Instructions
- Preheat your oven to 350°F (175°C). Grease and flour a 9×13 inch baking pan.
- Prepare the crust: In a large bowl, cream together the softened butter and 1/2 cup granulated sugar until light and fluffy. Beat in the vanilla extract.
- In a separate bowl, whisk together the flour, 1/4 teaspoon salt. Gradually add the dry ingredients to the butter mixture, mixing until just combined.
- Press the dough evenly into the bottom of the prepared baking pan to form the crust.
- Prepare the filling: In a medium bowl, whisk together the pumpkin puree and 3/4 cup granulated sugar.
- Beat in the eggs one at a time, then stir in the evaporated milk.
- In a small bowl, combine the cinnamon, ginger, nutmeg, cloves, and 1/4 teaspoon salt. Add the spice mixture to the pumpkin filling and stir until well combined.
- Pour the pumpkin filling evenly over the prepared crust.
- Bake for 35-45 minutes, or until the filling is set and a toothpick inserted near the center comes out clean.
- Let the bars cool completely in the pan on a wire rack before cutting into squares.
Notes
- For a richer crust, you can add 1/4 cup of chopped pecans or walnuts to the crust dough.
- Ensure your pumpkin puree is unsweetened and not pre-spiced.
- Allow bars to cool completely for clean cuts.
- These bars can be stored in an airtight container at room temperature for up to 3 days, or refrigerated for up to a week.
- Prep Time: 20 minutes
- Cook Time: 45 minutes
- Category: Dessert
- Method: Baking
- Cuisine: American
Nutrition
- Serving Size: 1 bar
- Calories: 200
- Sugar: 15g
- Sodium: 80mg
- Fat: 10g
- Saturated Fat: 6g
- Unsaturated Fat: 4g
- Trans Fat: 0g
- Carbohydrates: 25g
- Fiber: 1g
- Protein: 3g
- Cholesterol: 45mg
Keywords: Pumpkin Pie Bars, Pumpkin Pie Bars Recipe, Thanksgiving Pumpkin Dessert, Pumpkin Squares, Easy Pumpkin Dessert, Pumpkin Bar Recipes, Pumpkin Pie Recipe, Fall Baking, Holiday Dessert, Thanksgiving Dessert