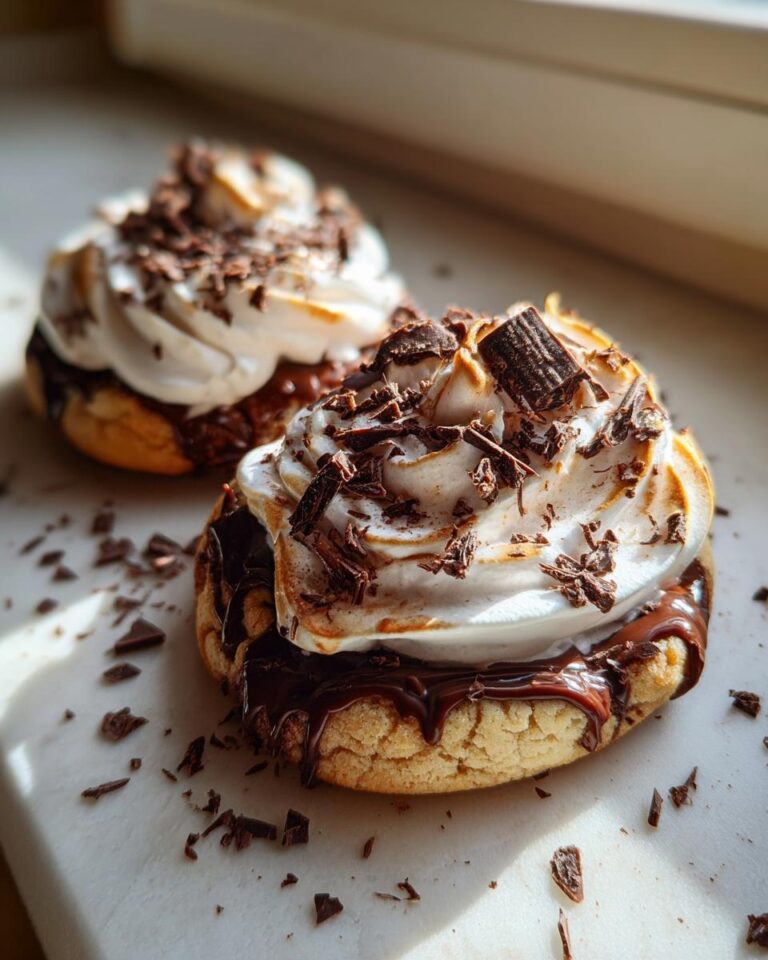
Oh, these Hot Cocoa Cookies! They’re like a warm hug on a chilly day, seriously. Imagine sinking your teeth into a cookie that’s rich, deeply chocolatey, and just melts in your mouth. That first bite is pure bliss, a perfect balance of sweet and cocoa that reminds me of those cozy evenings by the fire with a mug of hot chocolate. I remember making these for the first time when it was absolutely pouring outside, and the smell that filled my kitchen? Absolute heaven. It’s the kind of cookie that just makes everything feel a little bit better, a little more magical.
Why You’ll Love These Hot Cocoa Cookies
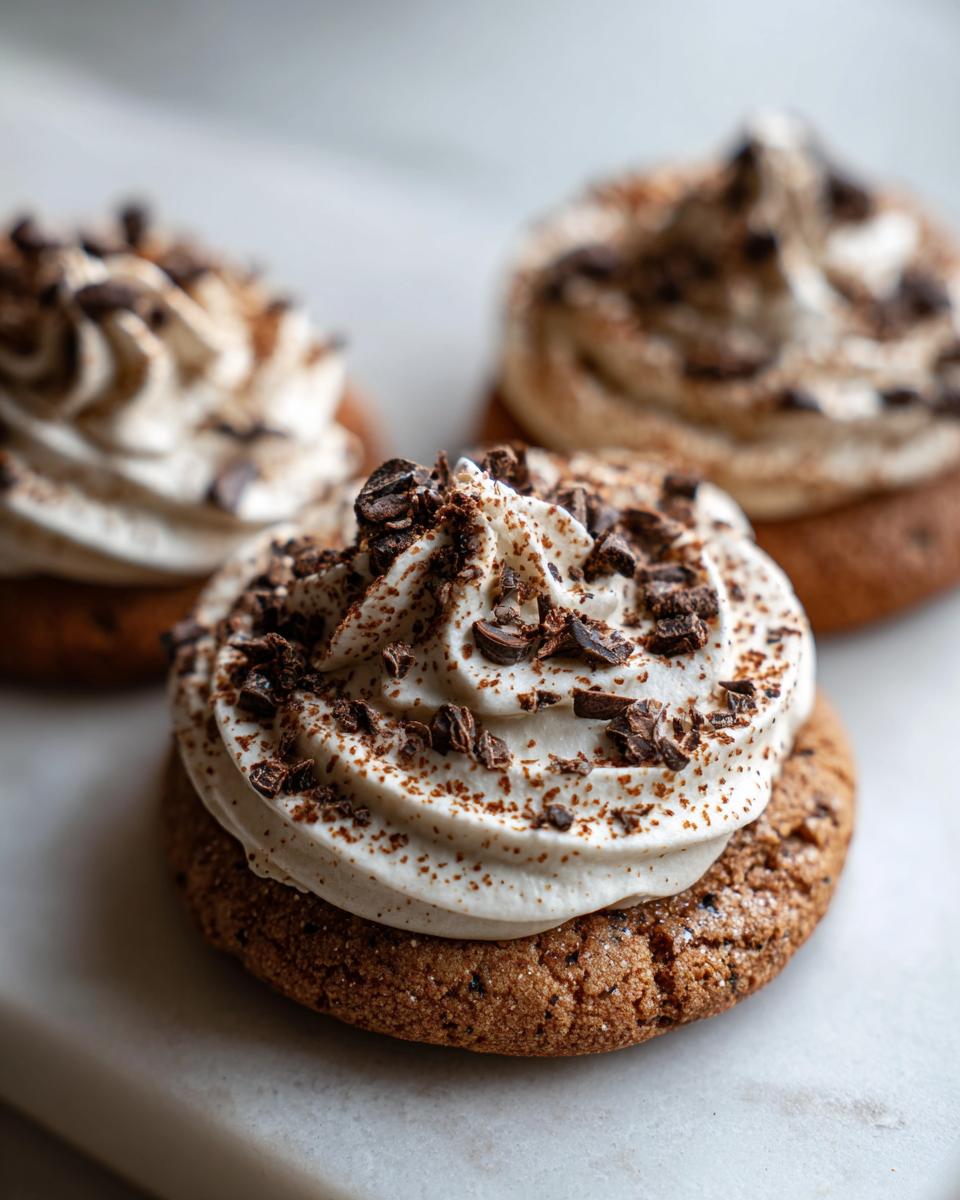
Seriously, these Hot Cocoa Cookies are a game-changer! They’re incredibly easy to whip up, making them perfect for those last-minute holiday needs or just a spontaneous craving. The flavor is just out-of-this-world rich and chocolatey, like a concentrated hug from your favorite mug of hot chocolate. You’ll love how they:
- Come together super fast – perfect for busy bakers!
- Deliver an intense, satisfying chocolate flavor
- Are wonderfully soft and chewy, just like they should be
- Make your kitchen smell like pure happiness
Perfect for Holiday Baking Ideas
These cookies are absolute stars when it comes to holiday baking ideas! Their cozy, comforting flavor makes them a natural fit for Christmas cookie baking and any festive gathering. They’re a guaranteed crowd-pleaser on any holiday cookie platter.
A Delightful Hot Cocoa Dessert
If you’re a chocolate lover, get ready to swoon! These cookies are the ultimate hot cocoa dessert. They capture all the warmth and deliciousness of a steaming mug, making them a must-have for any cocoa dessert recipe collection or just a simple treat.
Gathering Your Ingredients for Hot Cocoa Cookies
Alright, let’s get down to business! To make these amazing Hot Cocoa Cookies, you’ll need a few things. Don’t worry, they’re all pretty standard pantry items, and a couple of them are key to getting that perfect chocolatey punch. Make sure you have everything ready before you start mixing, it just makes the whole process smoother, trust me!
Essential Dry Ingredients
First up, the dry stuff. You’ll need:
- 2 ½ cups all-purpose flour – just your regular baking flour works perfectly.
- 1 teaspoon baking soda – this helps them get nice and fluffy.
- ½ teaspoon salt – it’s a flavor booster, don’t skip it!
Key Wet Ingredients
Now for the wet ingredients that bring it all together:
- 1 cup (2 sticks) unsalted butter, softened – make sure it’s nice and soft, not melted!
- 1 ½ cups granulated sugar – for that classic sweetness.
- 2 large eggs, at room temperature – room temp eggs mix in so much better.
- 1 teaspoon vanilla extract – a little bit of vanilla makes all the chocolate flavors pop even more.
The Cocoa Magic
This is where the magic happens! You’ll need:
- ¾ cup unsweetened cocoa powder – I really like using a good quality Dutch-processed cocoa for a deeper, smoother chocolate flavor. It makes a huge difference in these Hot Cocoa Cookies.
Optional Add-ins for Your Hot Cocoa Cookies
Want to take these Hot Chocolate Cookies to the next level? You totally can! I love adding:
- 1 cup chocolate chips – semi-sweet or dark chocolate are my favorites here.
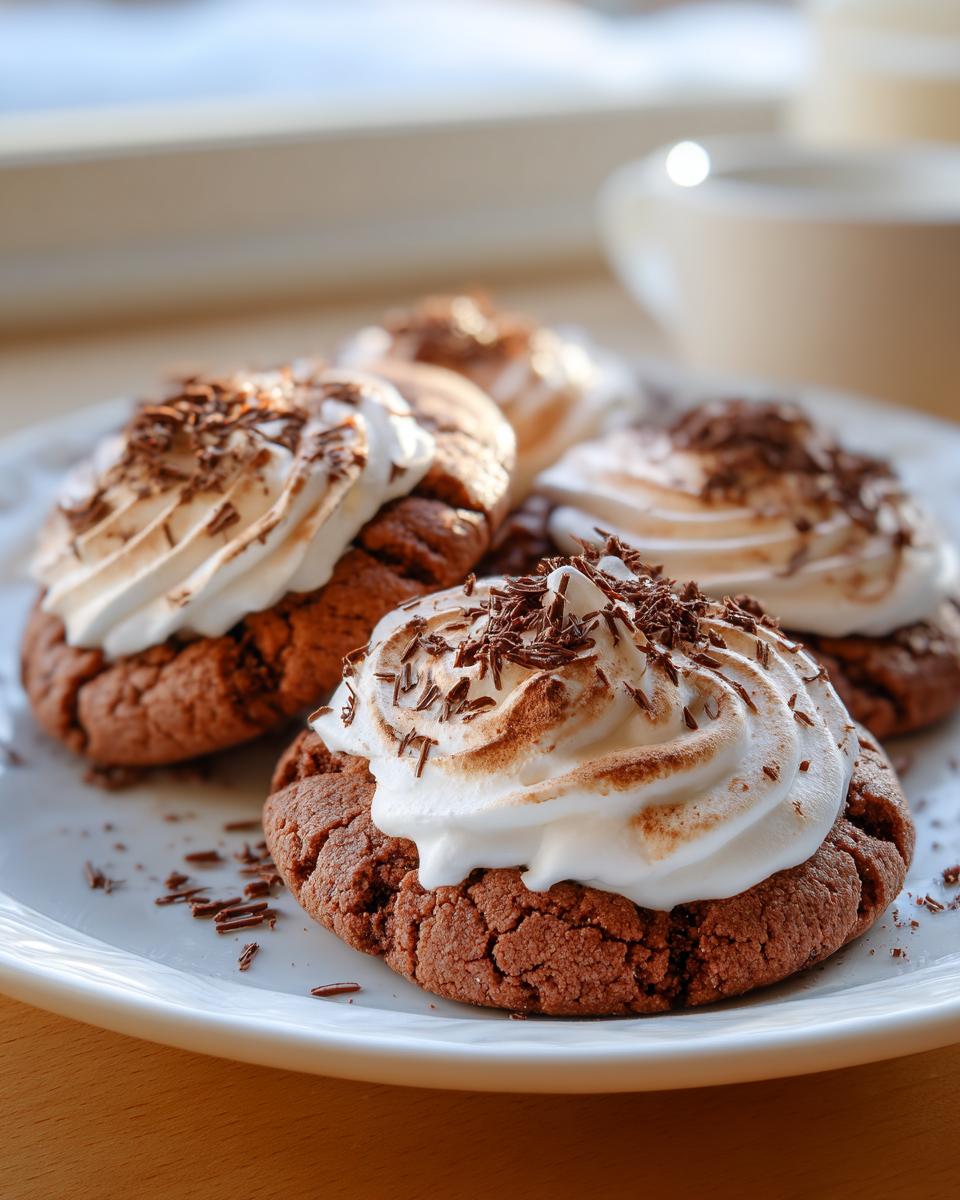
- ½ cup mini marshmallows – toss these in at the very end of mixing, or even press them on top after baking for that classic hot cocoa vibe!
Step-by-Step Guide to Making Hot Cocoa Cookies
Okay, ready to make some cookie magic? Follow these super simple steps and you’ll have a batch of incredible Hot Cocoa Cookies in no time. It’s really straightforward, I promise!
Preparing the Cookie Dough
First things first, let’s get that oven preheated to 375°F (190°C). While it’s warming up, grab a couple of baking sheets and line them with parchment paper. This is my little trick to avoid any sticking drama later!
In a medium bowl, whisk together your flour, baking soda, salt, and cocoa powder. Give it a good whisk to make sure everything is well combined and there are no big lumps of cocoa. Set this aside for a sec.
Now, in a big bowl, cream together that softened butter and the granulated sugar. You want to beat them until they’re nice and fluffy – think light and airy, like pale yellow clouds. This usually takes about 2-3 minutes with an electric mixer, or a bit longer if you’re doing it by hand (which is totally fine, just adds to the charm!).
Beat in your room temperature eggs, one at a time, making sure each one is fully incorporated before adding the next. Then, stir in the vanilla extract. After that, gradually add your dry ingredients to the wet ingredients. Mix on low speed or stir gently until *just* combined. Seriously, don’t overmix here! A few streaks of flour are okay; they’ll disappear as you continue. Overmixing makes cookies tough, and we want these to be soft and chewy, remember?
If you’re adding chocolate chips or any other goodies, gently fold them in now. If you decided to go with the mini marshmallows, I like to add about half of them now and save the rest to press on top after they’re on the baking sheet.
Shaping Your Hot Cocoa Cookies
Now for the fun part: shaping! I usually use a cookie scoop (about 1.5 tablespoons) to drop rounded balls of dough onto my prepared baking sheets. This makes sure they’re all roughly the same size, so they bake evenly. Make sure to leave about 2 inches between each cookie because they will spread out a bit.
If you saved some mini marshmallows, gently press a few onto the tops of the dough balls now. It looks super cute and gives that extra hot cocoa vibe!
Baking the Perfect Hot Cocoa Cookies
Pop those baking sheets into your preheated oven. Bake for about 9 to 11 minutes. The edges should look set, and the centers might still look a little soft – that’s exactly what you want! They’ll continue to bake a little on the hot pan after you take them out. If you’re using marshmallows, keep an eye on them; they can go from perfect to browned really quickly.
Cooling and Finishing Your Hot Cocoa Cookies
Once they’re done baking, let the cookies cool on the baking sheets for about 5 minutes. This is important because they’re fragile when they first come out of the oven. After those 5 minutes, carefully transfer them to a wire rack to cool completely. Resist the urge to eat them all while they’re still warm – though I know it’s hard!
Once they’re totally cool, you can totally dust them with a little powdered sugar if you want that extra snowy look, or even drizzle them with a bit of melted chocolate. But honestly, they’re absolutely delicious just as they are!
Tips for Phenomenal Hot Cocoa Cookies
Want to make your Hot Cocoa Cookies absolutely legendary? Here are my top tips to make sure they turn out perfectly every single time. These little tricks really elevate your Cocoa Cookies Recipe from good to WOW!
- The Power of Cocoa: Seriously, use the best unsweetened cocoa powder you can find. Dutch-processed will give you a darker color and a smoother, richer chocolate flavor that’s essential for that authentic hot cocoa taste.
- Don’t Overmix!: I can’t stress this enough. Mix the dough until *just* combined. Overmixing develops the gluten in the flour, which leads to tough cookies. We want chewy and fudgy, not tough!
- Chill Out (Sometimes): If your dough seems super soft or sticky, especially on a warm day, pop it in the fridge for about 20-30 minutes before scooping. This helps prevent them from spreading too much and makes them easier to handle.
- Marshmallow Magic: For that ultimate Marshmallow Cookies experience, gently press mini marshmallows onto the cookies right after they come out of the oven. The residual heat will make them gooey and delicious without burning them.
- Room Temperature is Key: Make sure your butter and eggs are at room temperature. This helps them emulsify properly, creating a smoother dough and ensuring your cookies bake up evenly.
- Embrace the Chewy Center: For that perfect soft and chewy texture, pull the cookies out of the oven when the edges are set but the centers still look a little underdone. They’ll finish baking on the hot pan.
Frequently Asked Questions About Hot Cocoa Cookies
Got questions about these delicious Hot Cocoa Cookies? I’ve got answers! These are some things people often ask, and I’m happy to clear them up for you so your baking is a breeze.
What makes these Hot Cocoa Cookies so moist?
It’s a combination of things! The generous amount of butter and sugar, along with the eggs, contribute to a rich, moist texture. Plus, not overbaking them is super important – pulling them out when the centers still look a bit soft is key to that wonderful chewiness.
Can I make these Hot Cocoa Cookies ahead of time?
Oh, absolutely! You can make the dough up to 2-3 days in advance and keep it covered in the refrigerator. Just let it sit at room temperature for about 15-20 minutes before scooping and baking. You can also freeze the dough balls for up to 3 months – just bake them straight from frozen, adding a couple of extra minutes to the baking time.
How do I store leftover Hot Cocoa Cookies?
Once they’re completely cooled, store your Hot Cocoa Cookies in an airtight container at room temperature. They usually stay wonderfully soft and chewy for about 3-4 days. If you want to keep them extra fresh, you can even pop a slice of bread in the container with them – it sounds weird, but it works!
Are these Hot Cocoa Cookies suitable for Christmas baking?
Definitely! These are perfect for Christmas cookie baking. Their rich chocolate flavor and cozy vibe make them a fantastic addition to any holiday cookie platter. They’re a wonderful part of your Holiday Baking Ideas and always a favorite for Christmas cookie recipes.
Nutritional Information for Hot Cocoa Cookies
Here’s a rough idea of what you’re getting in each delicious cookie. Remember, these are estimates and can vary based on the exact ingredients you use, especially if you add in chocolate chips or other goodies!
- Serving Size: 1 cookie
- Calories: Approximately 180-220
- Fat: Approximately 10-12g
- Saturated Fat: Approximately 6-7g
- Carbohydrates: Approximately 25-30g
- Sugar: Approximately 15-20g
- Protein: Approximately 2-3g
I’d absolutely LOVE to hear how your Hot Cocoa Cookies turned out! Did you add anything special? How did everyone like them? Drop a comment below and let me know your experience. Sharing your baking adventures makes it even more fun!
Tips for Phenomenal Hot Cocoa Cookies
Want to make your Hot Cocoa Cookies absolutely legendary? Here are my top tips to make sure they turn out perfectly every single time. These little tricks really elevate your Cocoa Cookies Recipe from good to WOW! They’re also fantastic for adding a special touch to your Winter Cookies collection.
Ensuring the Best Cocoa Flavor
For that deep, rich chocolate flavor that screams hot cocoa, you’ve gotta use good stuff! I always go for a high-quality unsweetened cocoa powder, preferably Dutch-processed. It’s less acidic, which gives you a smoother, darker, and more intense chocolate taste that really shines through in these cookies. Don’t skimp here; it’s the star of the show!
Achieving the Perfect Texture
The secret to that perfect chewy center is all about the bake time. Pull these cookies out when the edges look set but the centers still seem a little soft and underdone. They’ll continue to cook on the hot baking sheet once they’re out of the oven, giving you that wonderfully moist and chewy texture we all love. Also, make sure your dough isn’t too sticky; if it is, a quick chill in the fridge can work wonders to prevent too much spreading.
Making Hot Cocoa Cookies Extra Special
Ready to level up? You can totally make these Marshmallow Cookies even more special! Try pressing a few mini marshmallows into the tops of the cookies right after they come out of the oven. The residual heat makes them gooey and delicious without burning. Or, for a truly decadent treat, drizzle them with a bit of melted chocolate or even a simple chocolate ganache once they’ve cooled. It’s like taking your favorite mug of hot cocoa and turning it into a cookie!
Frequently Asked Questions About Hot Cocoa Cookies
Got questions about these delicious Hot Cocoa Cookies? I’ve got answers! These are some things people often ask, and I’m happy to clear them up for you so your baking is a breeze.
What makes these Hot Cocoa Cookies so moist?
It’s a combination of things! The generous amount of butter and sugar, along with the eggs, contribute to a rich, moist texture. Plus, not overbaking them is super important – pulling them out when the centers still look a bit soft is key to that wonderful chewiness.
Can I make these Hot Cocoa Cookies ahead of time?
Oh, absolutely! You can make the dough up to 2-3 days in advance and keep it covered in the refrigerator. Just let it sit at room temperature for about 15-20 minutes before scooping and baking. You can also freeze the dough balls for up to 3 months – just bake them straight from frozen, adding a couple of extra minutes to the baking time.
How do I store leftover Hot Cocoa Cookies?
Once they’re completely cooled, store your Hot Cocoa Cookies in an airtight container at room temperature. They usually stay wonderfully soft and chewy for about 3-4 days. If you want to keep them extra fresh, you can even pop a slice of bread in the container with them – it sounds weird, but it works!
Are these Hot Cocoa Cookies suitable for Christmas baking?
Definitely! These are perfect for Christmas cookie baking. Their rich chocolate flavor and cozy vibe make them a fantastic addition to any holiday cookie platter. They’re a wonderful part of your Holiday Baking Ideas and always a favorite for Christmas cookie recipes.
Nutritional Information for Hot Cocoa Cookies
Here’s a rough idea of what you’re getting in each delicious cookie. Remember, these are estimates and can vary based on the exact ingredients you use, especially if you add in chocolate chips or other goodies! It’s always good to have a general idea, right?
- Serving Size: 1 cookie
- Calories: Approximately 180-220
- Fat: Approximately 10-12g
- Saturated Fat: Approximately 6-7g
- Carbohydrates: Approximately 25-30g
- Sugar: Approximately 15-20g
- Protein: Approximately 2-3g
I would absolutely LOVE to hear how your Hot Cocoa Cookies turned out! Did you try any fun add-ins? How did everyone like them? Please, please drop a comment below and share your baking adventures. It makes me so happy to hear from you and makes this whole cooking thing even more fun!
Print
Phenomenal Hot Cocoa Cookies: 12 Amazing Bites
- Total Time: 1 hour 20 minutes
- Yield: 1 loaf 1x
- Diet: Vegetarian
Description
A moist and flavorful pumpkin bread with a rich cream cheese swirl, perfect for a fall treat.
Ingredients
- 2 cups all-purpose flour
- 1 teaspoon baking soda
- 1/2 teaspoon salt
- 1 teaspoon ground cinnamon
- 1/2 teaspoon ground nutmeg
- 1/4 teaspoon ground cloves
- 1 1/2 cups granulated sugar
- 2 large eggs
- 1 cup vegetable oil
- 1 cup pumpkin puree
- 1 teaspoon vanilla extract
- 4 ounces cream cheese, softened
- 1/4 cup granulated sugar
- 1 large egg yolk
Instructions
- Preheat your oven to 350°F (175°C). Grease and flour a 9×5 inch loaf pan.
- In a large bowl, whisk together flour, baking soda, salt, cinnamon, nutmeg, and cloves.
- In a separate bowl, whisk together granulated sugar, eggs, vegetable oil, pumpkin puree, and vanilla extract until well combined.
- Add the wet ingredients to the dry ingredients and mix until just combined. Do not overmix.
- In a small bowl, beat the softened cream cheese with 1/4 cup granulated sugar and the egg yolk until smooth.
- Pour half of the pumpkin batter into the prepared loaf pan.
- Dollop half of the cream cheese mixture over the batter. Swirl gently with a knife or skewer.
- Pour the remaining pumpkin batter over the cream cheese layer.
- Dollop the remaining cream cheese mixture on top and swirl again.
- Bake for 50-60 minutes, or until a wooden skewer inserted into the center comes out clean.
- Let the bread cool in the pan for 10 minutes before transferring it to a wire rack to cool completely.
Notes
- Ensure your pumpkin puree is not pumpkin pie filling.
- For an extra festive touch, you can add chopped pecans or walnuts to the batter.
- Allow the bread to cool completely before slicing for the best texture.
- Prep Time: 20 minutes
- Cook Time: 60 minutes
- Category: Dessert/Baking
- Method: Baking
- Cuisine: American
Nutrition
- Serving Size: 1 slice
- Calories: 350
- Sugar: 30g
- Sodium: 250mg
- Fat: 20g
- Saturated Fat: 5g
- Unsaturated Fat: 15g
- Trans Fat: 0g
- Carbohydrates: 40g
- Fiber: 2g
- Protein: 4g
- Cholesterol: 50mg
Keywords: Pumpkin Bread, Cream Cheese Swirl, Pumpkin Bread Recipe, Cream Cheese Swirl Bread, Moist Pumpkin Bread, Pumpkin Bread Loaf, Fall Breads, Homemade Pumpkin Bread, Easy Pumpkin Loaf, Pumpkin Dessert, Cream Cheese Pumpkin Bread